Stellen Sie sich Folgendes vor: Sie stecken knietief in einem Projekt, vielleicht verdrahten Sie einige Glasfasergeräte oder optimieren eine NIR-Bildgebungsanlage, und plötzlich stoßen Sie auf eine Photodiodenwand. Sie werden mit Spezifikationen überhäuft - Wellenlängen, Empfindlichkeiten, Rauschwerte - und nichts macht Klick. Kommt Ihnen das bekannt vor? Glauben Sie mir, ich habe das auch schon erlebt. Als ich bei Bee Photon anfing, mich mit diesen Dingen zu beschäftigen, verschwendete ich wochenlang Geld und Zeit mit der falschen Auswahl. Aber hier ist die gute Nachricht: Die Auswahl der richtigen InGaAs-Photodiode muss sich nicht anfühlen wie das Lösen eines Puzzles mit verbundenen Augen. Dieser Leitfaden führt Sie durch die einzelnen Schritte, die Ihnen tatsächlich den Verstand retten.
Wir sprechen hier von InGaAs-Photodioden, den zuverlässigen kleinen Arbeitspferden für die Erkennung von Nahinfrarotstrahlung. Sie sind überall in der Telekommunikation, in der Sensorik und sogar in der Weltraumtechnik zu finden. Und wenn Sie auf der Suche nach einem soliden Ausgangspunkt sind, ist unser InGaAs-Detektor mit hoher Empfindlichkeit Die Bee Photon überzeugt mit einer Empfindlichkeit von bis zu 1,0 A/W bei 1550 nm - perfekt für Einsteiger. Aber wir wollen nicht voreilig sein. Wir behandeln die Grundlagen der Auswahl von Photodioden, gehen auf die Besonderheiten der InGaAs-Photodiodenauswahl ein und verpacken das Ganze in einen Photodetektor-Leitfaden, der mehr Chat als Lehrbuch ist. Am Ende haben Sie einen klaren Fahrplan für Ihr Projekt und einen Anstoß, sich mit unsere Kontaktseite wenn Sie Ihre Ideen mit dem Team von info@photo-detector.com.

Warum sollte man sich mit der Auswahl von InGaAs-Photodioden beschäftigen? (Und warum es für Ihr Projekt wichtig ist)
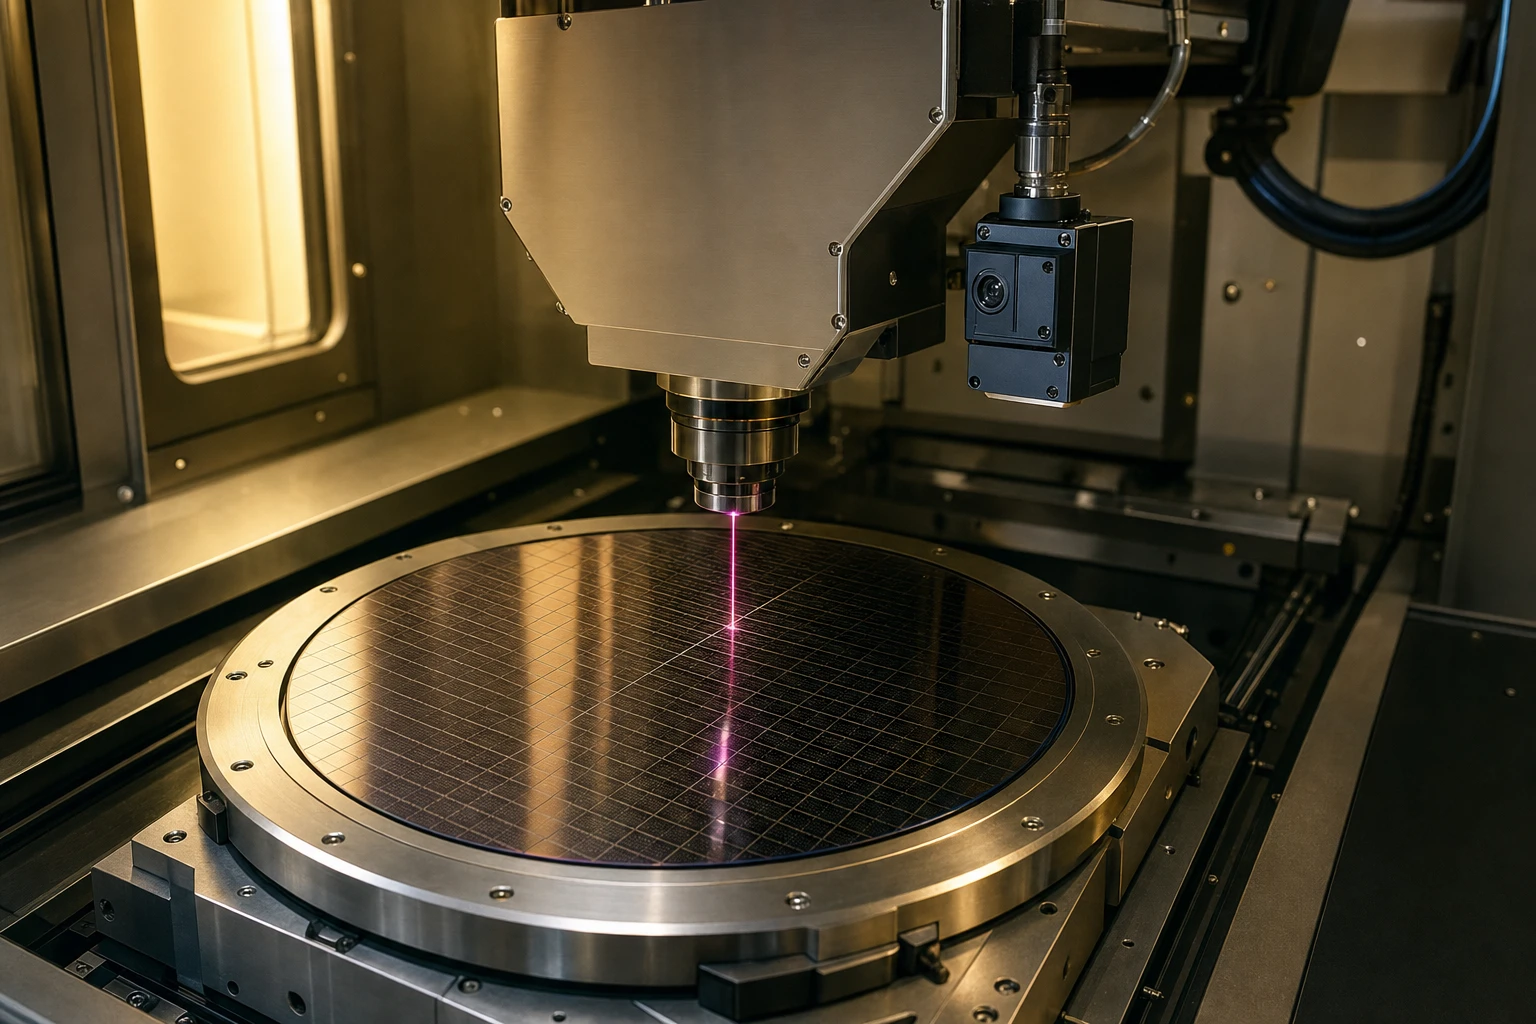
Okay, mal ganz ehrlich: Nicht alle Fotodioden sind aus dem gleichen Holz geschnitzt. Die aus Silizium? Großartig für sichtbares Licht, aber bei 1100 nm sind sie nicht mehr zu gebrauchen. Hier kommen die InGaAs-Fotodioden ins Spiel: Sie glänzen im Bereich von 900 bis 1700 nm und reichen manchmal sogar bis 2600 nm, wenn Sie eine größere Reichweite anstreben. Laut Hamamatsu Photonics, einem großen Namen in diesem Bereich, erreichen InGaAs-Dioden Spektralbereiche von 0,5 μm bis hin zu 2,6 μm mit geringem Rauschen und hoher Geschwindigkeit. Das ist enorm wichtig für Projekte wie Glasfaserkommunikation oder Spektroskopie, bei denen schwache NIR-Signale ohne viel Aufhebens eingefangen werden müssen.
Aber hier wird es persönlich. Ich habe schon Projekte scheitern sehen, weil jemand eine billige Diode genommen hat, die die Bandbreite nicht bewältigen konnte, oder schlimmer noch, die Wellenlänge nicht richtig angepasst hat und am Ende Geistersignale erzeugt hat. Ihr Ziel? Passen Sie die Diode an die Anforderungen Ihres Aufbaus an - Lichtquelle, Umgebung, was Sie messen wollen. Stellen Sie sich das wie die Wahl der Schuhe für eine Wanderung vor: Wenn sie nicht passen, humpeln Sie früh nach Hause. Eine kluge Auswahl von InGaAs-Fotodioden sorgt für Effizienz, senkt langfristig die Kosten und lässt Sie wie einen Profi aussehen.
Aus meiner Zeit als Troubleshooter bei Bee Photon weiß ich, dass Kunden, die die Auswahl im Vorfeld treffen, 30-40% ihrer Prototyping-Zeit einsparen können. Das ist kein Scherz. Wenn Sie also auf Kataloge starren und sich fragen, wie Sie die passenden Fotodioden auswählen können, bleiben Sie hier. Wir werden es in mundgerechte Schritte unterteilen.
Schritt 1: Legen Sie Ihre Wellenlängenanforderungen bei der Auswahl von InGaAs-Photodioden fest
Das Wichtigste zuerst - die Wellenlänge. Dies ist die Grundlage jedes Fotodetektor-Leitfadens, der etwas taugt. InGaAs-Dioden sind die Könige des NIR, aber nicht alle Varianten sind gleich. Standarddioden decken 900-1700 nm ab, ideal für Telekommunikation bei 1310 oder 1550 nm. Sie brauchen mehr Reichweite? Erweiterte InGaAs-Dioden reichen bis 2600 nm für Gassensoren oder astronomische Anwendungen.
Reale Daten von Thorlabs belegen dies: Das Modell FGA20 weist eine hohe Empfindlichkeit von 1200 bis 2600 nm auf und detektiert Dinge jenseits der üblichen 1800-nm-Grenze. Ansprechempfindlichkeit? Das ist die Stromstärke, die Sie pro Watt Licht erhalten - bei den meisten InGaAs-Lampen sind das 0,9 A/W in der Spitze. Aber das fällt an den Rändern ab, also kartieren Sie zuerst Ihre Lichtquelle. Laser bei 1550 nm? Standard. Mittlere IR-Schwingungen? Erweitert bis zum Anschlag.
Ich erinnere mich an ein Projekt, das wir durchgeführt haben - ein anonymer Kunde, aber sagen wir, es ging um Umweltüberwachung. Sie waren auf der Suche nach Methanlecks bei 1650 nm. Sie wählten eine falsch angepasste Diode, die Signale waren schwach wie Spülwasser. Ich wechselte zu einer erweiterten InGaAs-Diode, und das Projekt bekam grünes Licht. Lektion? Skizzieren Sie Ihr Spektrum frühzeitig. Tools wie kostenlose Spektralrechner auf Websites wie foto-detektor.de kann dabei helfen, es zu planen.
Tabelle zur schnellen Zuordnung von Wellenlängen
Damit das nicht so viel Kopfzerbrechen bereitet, finden Sie hier eine einfache Tabelle, die auf gängigen Anwendungen und realen Spezifikationen von Edmund Optics und Laser Components basiert:
| Anmeldung | Ziel-Wellenlänge (nm) | Empfohlener InGaAs-Typ | Beispiel Ansprechempfindlichkeit (A/W @ Peak) |
|---|---|---|---|
| Glasfaseroptik | 1310-1550 | Standard | 0,95 (bei 1550 nm) |
| Gassensorik | 1600-2200 | Erweitert | 0,6 (bei 2000 nm) |
| NIR-Bildgebung | 900-1700 | Standard | 0,9 (bei 1300 nm) |
| Laser-Entfernungsmessung | 1064 | Standard | 0,8 (bei 1064 nm) |
Sehen Sie? Geben Sie Ihre Zahlen ein, und Sie haben die Hälfte geschafft. Wenn Ihr Projekt ausgefallene Wellenlängen hat, wenden Sie sich an Bee Photon - wir haben Dioden für noch ausgefallenere Dinge getunt.

800-1700nm InGaAs PIN-Photodiode PDIT05-222N
Maximieren Sie die Signalerfassung mit unserem InGaAs-Detektor mit hoher Empfindlichkeit. Bee Photon bietet diese empfindliche Photodiode für präzise Messungen in der Spektroskopie und medizinischen Diagnostik an.
Schritt 2: Reaktionsfähigkeit und Sensibilität - sparen Sie nicht am Saft
Gut, Sie haben die Wellenlänge geklärt. Wie viel “Schwung” hat Ihre Diode? Die Ansprechempfindlichkeit misst das - Ampere pro Watt. Bei InGaAs liegen die Daten von GPD Optoelectronics bei 0,5-1,0 A/W im NIR-Band. Ein höherer Wert bedeutet eine bessere Umwandlung von Licht in Signale, was aber manchmal mit Rauschen erkauft wird.
Wie wählt man die Empfindlichkeit der Fotodiode? Berücksichtigen Sie Ihre Lichtverhältnisse. Schwache Quellen? Erhöhen Sie die Verstärkung mit einer APD-Version - Avalanche-Photodioden vervielfachen Signale intern und erreichen so Verstärkungen von 10-100x. Aber achten Sie auf das überschüssige Rauschen; Hamamatsu weist darauf hin, dass es den Dunkelstrom in die Höhe treiben kann, wenn Sie nicht vorsichtig sind.
Aus der Praxis? Wir haben einmal die Spektroskopieanlage eines Kunden mit einem hochempfindlichen InGaAs nachgerüstet. Das Original war bei 0,4 A/W schleppend; unseres erreichte 0,95 und verwandelte verrauschte Flecken in scharfe Spitzen. Das kostete zwar etwas mehr, aber die Datengenauigkeit stieg sprunghaft an - und war jeden Cent wert. Profi-Tipp: Die Quanteneffizienz (QE) spielt hier eine Rolle, oft 70-80% für Spitzen-InGaAs. Informieren Sie sich in den Datenblättern über Ihren Spitzenwert.
Wenn Sie Wert auf Bandbreite legen (Reaktionszeit unter 1 ns für Gigabit-Geschwindigkeiten), sollten Sie sie mit einer niedrigen Kapazität kombinieren - unter 1 pF ist alles schnell, wie Cadence PCB für IR-Optik feststellt.
Schritt 3: Rauschen, Geschwindigkeit und die schmutzigen Details in Ihrem Fotodetektor-Leitfaden
Rauschen ist der stille Killer bei der Auswahl von InGaAs-Fotodioden. Dunkelstrom (Leckage ohne Licht) sollte unter 1 nA bei Raumtemperatur schweben; Schuss Rauschen und thermische Sachen summieren sich schnell bei schwachem Licht. Excelitas spezifiziert seine PIN-Dioden mit einem Shunt-Widerstand von über 100 MΩ für extrem niedriges Rauschen.
Geschwindigkeit? Die Bandbreite ist ausschlaggebend - bis zu 10 GHz für manche, aber die meisten Projekte liegen bei 1-3 GHz. Passen Sie die Bandbreite an Ihre Modulationsrate an. Wenn Sie darüber hinausgehen, filtern Sie nur Schrott.
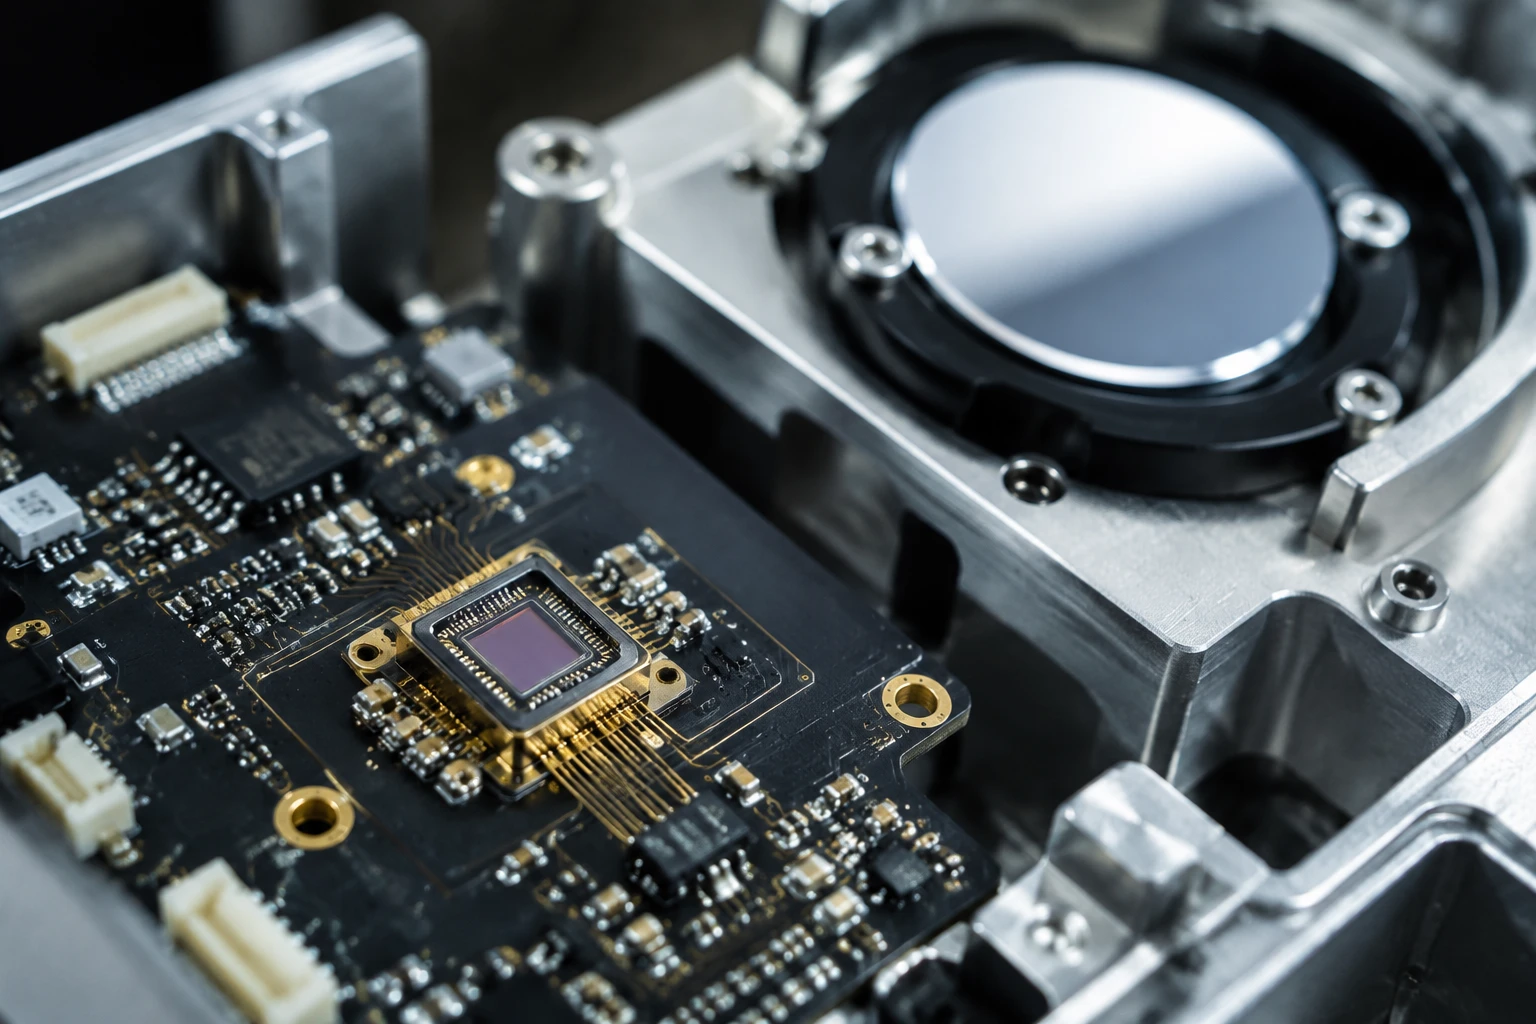
Auch die Verpackung spielt eine Rolle - die Dose für Robustheit, der nackte Würfel für kundenspezifische Platinen. Kosten? Beginnen bei $50 für die Grundlagen, steigen auf $500+ für APDs. Planen Sie entsprechend ein.
Ein Startup-Unternehmen aus der Telekommunikationsbranche hat uns mit abfallenden Signalen in feuchten Labors konfrontiert. Wir wechselten zu einem rauscharmen InGaAs mit besserer Abdichtung und das Problem war gelöst. Diese Optimierungen sind nicht auffällig, aber sie halten Projekte am Laufen.
Tabelle der Kompromisse zwischen Rauschen und Leistung
Zeichnung aus dem APD-Leitfaden von Laser Components:
| Lärm Typ | Typischer Wert (InGaAs) | Auswirkungen auf das Projekt | Tipp zur Schadensbegrenzung |
|---|---|---|---|
| Dunkler Strom | <1 nA bei 25 °C | Fälschungen bei schwachem Licht | Beruhigen Sie sich oder wählen Sie APD |
| Schussgeräusch | Proportional zu sqrt(Signal) | Verwischt schwache Pulse | Reaktionsfähigkeit steigern |
| Thermisches Rauschen | <10 pA/√Hz | Verlangsamt Hochgeschwindigkeitslesen | Modelle mit niedriger Kapazität |
Praktisch, nicht wahr? Verwenden Sie dies, um Optionen zu bewerten.
Real-World Wins: Wie InGaAs in Projekten wie Ihrem glänzt
Lassen Sie uns mit Beispielen zur Sache kommen - ohne Namen, aber direkt aus der Praxis. Ein anonymes Ingenieurteam baute Drohnen-basierte Umweltsensoren. Es benötigte InGaAs für 1550-nm-Laser mit einer Reichweite von über 1 km. Die anfängliche Wahl war falsch: hohes Rauschen tötete die Reichweite. Wir haben sie zu einem ausgewogenen Standard-InGaAs geführt - jetzt kartieren sie Verschmutzungsfahnen wie Profis, und die Daten fließen in die Stadtberichte ein.
Eine andere? Lebensmittel-Sortieranlage. SWIR InGaAs (erweiterte Reichweite) erkennt Fremdkörper in Körnern über Feuchtigkeitsunterschiede bei 1700 nm. Nach den FRAMOS-Erkenntnissen über die SWIR-Sensoren von Sony wird der Abfall um 20% reduziert. Der Durchsatz unseres Kunden hat sich nach dem Upgrade verdoppelt - rundum zufriedene Investoren.
Oder nehmen Sie OCT in der Fertigung - Exosens dokumentiert die Prozessüberwachung in Echtzeit mit InGaAs-Kameras. Ein Hersteller medizinischer Geräte, dem wir geholfen haben, integrierte eine solche Kamera für Montagekontrollen; die Fehlerquote sank um 15%. Dies sind keine Hypothesen, sondern die Ergebnisse einer intelligenten Auswahl.
Wir bei Bee Photon haben Tausende davon für ähnliche Auftritte verschickt. Unser InGaAs-Detektor mit hoher Empfindlichkeit-mit seinem Bereich von 800 bis 1700 nm und einem Dunkelstrom von <0,5 nA wurde bereits für passive Satellitensensoren (Discovery Semi Space Quals) und tragbare NIR-Monitore eingesetzt. Sind Sie neugierig, wie sie in Ihr System passen würde? Werfen Sie einen Blick auf die vollständigen technischen Daten auf foto-detektor.de.

900-2600nm InGaAs PIN-Photodiode PDIT05-413
Erleben Sie eine überragende Leistung mit unserer 900-2600nm InGaAs-Photodiode, die sich ideal für optische Hochgeschwindigkeitskommunikation und -sensorik eignet. Die Photodiode von Bee Photon gewährleistet hohe Zuverlässigkeit und geringes Rauschen.
Erweiterte Tweaks: Wenn Standard-InGaAs einfach nicht mehr ausreichen
Manchmal muss man etwas Besonderes machen. Arrays für die Bildgebung? Die Freiraum-APDs von Thorlabs erreichen Empfindlichkeiten im Femtowatt-Bereich. Polarisationsempfindlich? Die On-Chip-InGaAs-FPAs von MDPI mit Gittern für lineare Detektion.
Leistungsaufnahme bis zu 100 mW CW für die meisten, aber Impuls höher. Umgebung? Hermetische Versiegelung für den Außenbereich; wir haben in Feldtests eine Überlebensdauer von -40°C bis 85°C festgestellt.
Mit Verstärkern integrieren? Im NEON-Leitfaden wird die Anpassung der Impedanz für maximalen SNR betont. Und vergessen Sie nicht die QE-Kurven - stellen Sie sie Ihrer Quelle gegenüber, um 10-20% zu gewinnen.
Ein Curveball-Projekt: Quantenpunkt-Laserpaarung für 1064-nm-Entfernungen. Aeluma setzt InGaAs-Laser auf 300-mm-Wafern ein, aber wir haben einen Standardlaser gehackt und optimiert - und in den Simulationen 50 km Reichweite erzielt. Wild.
Zusammenfassung: Ihr nächster Schritt bei der Wahl der Photodioden-Meisterschaft
Puh, wir haben viel behandelt - Wellenlängen, bzw. Rauschen, echte Auftritte. Bei der Auswahl der InGaAs-Fotodiode geht es darum, den Puls Ihres Projekts abzubilden: Lichtspezifikationen, Budget, Endspiel. Wenn Sie diese Schritte befolgen, suchen Sie nicht nur ein Teil aus, sondern bauen etwas, das lange hält.
Sie sind aufgeregt, haben aber keine Zeit für Details? Hier kommt Bee Photon ins Spiel. Wir haben jahrelange Erfahrung mit praktischen Optimierungen, vom Prototyp bis zur Produktion. Schießen Sie rüber zu https://photo-detector.com/contact-us/ für ein kostenloses Beratungsgespräch, oder per E-Mail info@photo-detector.com mit Ihren Angaben. Angebotsanfragen? Wir erstellen sie schnell, oft mit Mustern. Lassen Sie Ihr Projekt aufblühen - rufen Sie uns noch heute an, und lassen Sie uns darüber sprechen, wie wir die perfekte InGaAs-Lösung finden.
FAQ: Quick Hits zur Auswahl von InGaAs-Photodioden
Welcher Wellenlängenbereich ist für die meisten InGaAs-Photodioden geeignet?
Der Standard-InGaAs-Bereich reicht von 900 bis 1700 nm und deckt Telekommunikations-Hotspots wie 1310 und 1550 nm ab. Erweiterte Versionen reichen bis 2600 nm für breitere NIR-Sachen, gemäß den Spezifikationen von Thorlabs und Hamamatsu. Wenn Ihr Licht außerhalb dieses Bereichs liegt, müssen wir eventuell nachbessern.
Woher weiß ich, ob ich eine APD oder eine normale PIN-InGaAs benötige?
Wählen Sie APD, wenn Sie sehr wenig Licht oder eine hohe Verstärkung benötigen - Verstärkungen bis zu 100x, aber lauter. PIN ist einfacher und kostengünstiger für hellere Setups. Prüfen Sie Ihre Signalpegel; wir haben Leute von PIN auf APD umgestellt und einen 5-fachen Anstieg des SNR in schwachen Anwendungen festgestellt.
Können InGaAs-Dioden Hochgeschwindigkeitsdatenraten wie bei der Glasfaserkommunikation verarbeiten?
Die Bandbreiten erreichen mühelos 10 GHz, die Ansprechzeiten liegen unter 50 ps. Laser Components weist darauf hin, dass dies die Grundnahrungsmittel für SMF bei 1310/1550 nm sind. Passen Sie einfach die Kappe und die Last an; wenn sie nicht übereinstimmen, wird Ihr Augendiagramm zu Brei.