There is nothing—and I mean nothing—more frustrating in the lab than setting up a precision optical measurement, hooking up your scope, and seeing… noise. Just garbage signals.
You check the photodiode. It’s fine. You check the transimpedance amplifier. It’s solid. You check your grounding. It’s perfect.
So what gives?
Nine times out of ten, when I get a call from a panic-stricken engineer or a procurement manager at BeePhoton, the issue isn’t the detector. It’s the emitter. Choosing the wrong photodiode light source is the silent killer of optical sensor projects. You wouldn’t put a lawnmower engine in a Ferrari, right? So why are you pairing a high-end UV silicon sensor with a generic, bargain-bin white LED?
Today, I’m going to walk you through exactly how to pick the right light source, whether you need a simple LED for optical sensors or a precision laser. We’re going to ditch the textbook jargon and talk about what actually works on the production line.
Why Your Photodiode Light Source Matters (More Than You Think)
I’ve been in this industry long enough to see some pretty sketchy “matched sets” coming from random vendors. Here is the deal: a photodiode is only as good as the photons hitting it.
If your photodiode light source doesn’t match the spectral sensitivity of your detector, you are throwing away efficiency. You’re basically shouting at someone who is wearing earplugs. You might get a little signal through, but you have to shout (drive the LED) way harder than necessary. That leads to heat, drift, and eventually, component failure.
For B2B buyers looking for matched emitter detector pairs, understanding the relationship between the light source and the receiver is what separates a reliable product from one that gets recalled.
The Core Science: Spectral Matching Explained
Okay, don’t scroll away. I know “physics” sounds boring, but this is the money section.
Every photodiode has a “peak sensitivity wavelength.” For standard Silicon (Si) detectors, this is usually around 900nm to 1000nm (Near Infrared). If you use a photodiode light source that emits at 450nm (Blue), your sensor might only be 30% as responsive as it would be at 900nm.
The “Overlap” Factor
Imagine two bell curves.
- Curve A is your sensor’s sensitivity range.
- Curve B is your light source’s emission spectrum.
You want those two curves to hug. They need to overlap as much as possible.
If your photodiode light source is a narrow-band LED at 850nm, and your photodiode peaks at 850nm, you hit the jackpot. This is what we call a “matched pair.” At BeePhoton, when customers browse our Light Source category, we usually scream (politely) at them to check the datasheets of their sensors first.
If you don’t match them? You get:
- Low Signal-to-Noise Ratio (SNR).
- Higher power consumption (trying to boost the LED brightness).
- Ambient light interference (because you aren’t filtering for a specific wavelength).
Blue LED E465-4-201L4
The E465-4-201L4 is a high-performance 465nm Blue LED engineered specifically for precision industrial applications requiring focused light output. Delivering high luminosity with a strictly controlled 460-470nm wavelength range, this 465nm Blue LED serves as a critical component for optical switches and rotary encoders.
LED vs. Laser vs. Lamps: Choosing the Right Emitter
Not all photons are created equal. When selecting a photodiode light source, you generally have three contenders. Here is a quick breakdown I whipped up to help you decide.
| Feature | LED (Light Emitting Diode) | Laser Diode | Filament Lamp |
|---|---|---|---|
| Coherence | Low (Incoherent) | High (Coherent) | None |
| Beam Angle | Wide to Medium | Very Narrow | 360 degrees (Omni) |
| Speed | Fast (ns range) | Super Fast (ps range) | Slow (thermal lag) |
| Cost | Low | High | Very Low |
| Best For | Proximity, sensing, oximetry | Long-range, interferometry | Spectroscopy (broadband) |
Most of the time, for general automation or medical sensing, an LED for optical sensors is your best bet. It’s cheap, reliable, and easy to modulate.
Key Electrical Specs for a Matched Emitter Detector
You’ve picked the wavelength. Great. Now you need to make sure you don’t blow the thing up.
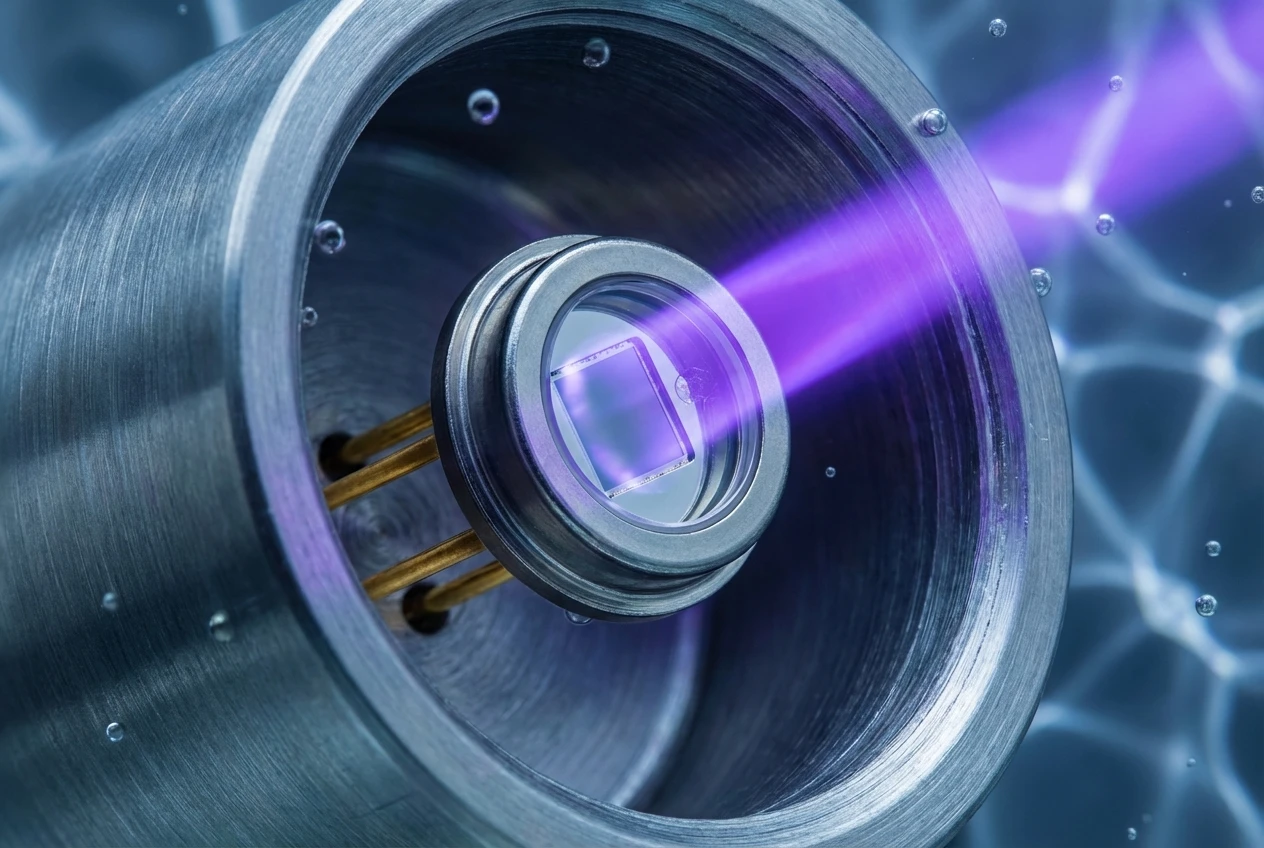
Radiant Intensity (Ie)
This isn’t just “brightness.” Radiant intensity is how much power is packed into a specific solid angle. If your sensor is far away, you need a high radiant intensity photodiode light source.
If you are just measuring something 1mm away, high intensity might saturate the photodiode, causing it to flatline at the top voltage rail. I’ve seen junior engineers think their sensor was broken, but really, they were just blinding it with a high-power laser.
Calculating the Current
Here is a rough formula to estimate what you need. (I hate math too, but stick with me).
V_out = P_opt x R_lambda x G_trans
Where:
- V_out: The voltage you want to see at your ADC.
- P_opt: The optical power hitting the sensor (from your photodiode light source).
- R_lambda: Responsivity of the diode (Amps/Watt).
- G_trans: Gain of your amplifier.
If you know the Responsivity (usually 0.5 A/W for Silicon at peak), and you know your amp gain, you can figure out how much Optical Power (P_opt) you need from your photodiode light source.
Temperature Stability: The Silent Killer
Here is something the spec sheets hide in the footnotes. LEDs change as they get hot.
If your application is outdoors or in a hot industrial cabinet, the output of your photodiode light source will drop as temperature rises. Furthermore, the wavelength can shift.
An LED might shift 0.3nm per degree Celsius. If you have a super narrow bandpass filter in front of your sensor, a 20-degree shift could push your light source completely out of the “window,” and your signal disappears. Poof. Gone.
Pro Tip: Always drive your photodiode light source with a constant current source, not a constant voltage source. And if precision matters, heat sink that bad boy.
Red LED E628-10-201L4
High-Performance 625nm Red LED for Precision Optical Applications
The E628-10-201L4 by Bee Photon is a premium 625nm Red LED designed to deliver high luminosity and exceptional reliability for demanding industrial applications. Engineered with a narrow 4-degree emission angle, this high-power red LED emitter provides focused light output, making it the perfect solution for precision optical sensing and signaling tasks where accuracy is paramount.
Real-World Case Study: The “Invisible” Signal Fix
I want to share a story about a client—let’s call them “TechMedi Corp” to keep their lawyers happy. They were building a blood analysis machine. They were buying a generic UV LED from a massive distributor and a high-end sensor from us.
They called BeePhoton complaining that the sensor was “drifting.”
I got on a call with their lead engineer. Nice guy, but he was stressed. We looked at his setup. He was using a photodiode light source that was rated for 365nm. But because he was buying cheap generic bins, the actual batch he got was centered at 375nm.
The reagent they were trying to excite only fluoresced at exactly 365nm. That 10nm difference meant they were getting 90% less signal than they should have.
The Fix: We swapped his generic emitter for a strictly binned, matched photodiode light source from our inventory that was tested to be within +/- 2nm of the target.
Result? Signal strength tripled immediately. The drift disappeared because the LED wasn’t working so hard to produce the bare minimum light.
This is why “sourcing separates” is a gamble. Buying a matched emitter detector set saves you from these invisible headaches.
How to Test Your Photodiode Light Source Setup
You bought the parts. Now, how do you verify them?
- The Camera Trick: If you are using an IR photodiode light source (like 850nm or 940nm), your eyes can’t see it. But your smartphone camera usually can (it appears purple). It’s a quick “is this thing on?” test.
- Current Sweep: Don’t just turn it on full blast. Sweep the current from 0mA to 20mA (or whatever the max is). Plot the sensor output. It should be linear. If it curves off at the top, you are saturating the sensor. If it’s noisy at the bottom, your photodiode light source isn’t powerful enough.
- Stability Test: Turn it on and leave it for an hour. Log the data. If the signal drops by 10% in the first 10 minutes, your LED is overheating.
Sourcing Smart: Why Matched Sets Save Money
I get it. You have a budget. Your procurement guy wants to buy the LEDs from that one huge electronics site because they are 2 cents cheaper.
But here is the reality of B2B manufacturing: Consistency is king.
If you buy a photodiode light source from Vendor A and a sensor from Vendor B:
- Vendor A changes their LED die supplier. The beam angle changes from 20 degrees to 40 degrees.
- Your sensor from Vendor B stays the same.
- Suddenly, your system sensitivity drops by 50% because the light is spreading out too much.
At BeePhoton, when we supply a photodiode light source, we often verify it against our sensor modules. We ensure the LED for optical sensors you buy today performs the same as the one you buy next year.
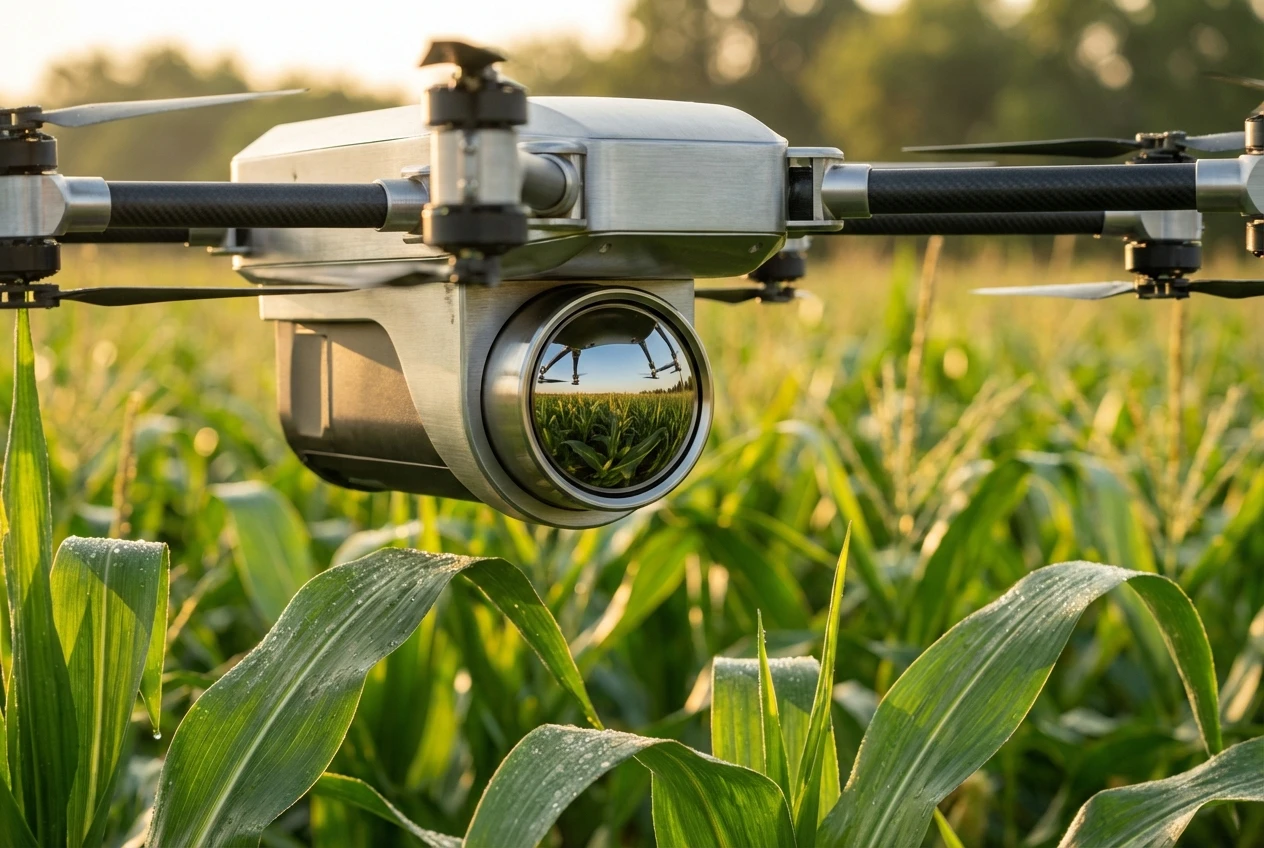
We see this a lot in industrial automation. A conveyor belt sensor works fine for six months, then a new batch of LEDs comes in, and suddenly the line stops because the sensor can’t “see” the dark boxes anymore. Don’t be that guy.
Advanced Considerations: Beam Shaping and Lenses
Sometimes the raw LED isn’t enough. You need to shape the light.
A raw photodiode light source usually emits light in a Lambertian pattern (like a bubble). If your detector is 1 meter away, 99% of your light is hitting the walls, the floor, and the ceiling. Only 1% hits the detector.
Using a lens to collimate the light (make the rays parallel) can increase your system efficiency by 100x.
Common Lens Materials:
- Plastic (Acrylic/Polycarbonate): Cheap, good for visible light.
- Glass: Better for high heat.
- Quartz/Fused Silica: Essential for UV applications (plastic blocks UV).
When selecting your photodiode light source, ask yourself: Does this come with a built-in lens? Or do I need to design external optics? (Hint: Built-in is way easier).
A Note on Modulation
If you take one thing away from this article, let it be this: Modulate your light.
If you run your photodiode light source in DC mode (just constantly on), your sensor cannot tell the difference between your LED and the sunlight coming through the window.
By pulsing your photodiode light source (say, at 10kHz) and using a band-pass filter on the receiver, you can ignore all the ambient light. This is how TV remotes work. This is how reliable industrial sensors work.
NIR LED E850-180-201L4
The E850-180-201L4 is a high-performance 850nm NIR LED engineered for precision industrial sensing. Manufactured by Bee Photon, this infrared emitter is designed to deliver high luminosity and exceptional stability, making it the ideal light source for demanding automation environments.
Conclusion
Selecting the right photodiode light source isn’t just about picking a color. It’s about spectral matching, radiant intensity, thermal stability, and consistent sourcing.
Whether you are building a medical device, a smoke detector, or a barcode scanner, the emitter is the heart of the system. Don’t treat it like an afterthought.
If you are tired of guessing which LED for optical sensors pairs with your detector, or if you need a custom matched emitter detector solution that actually works out of the box, we can help.
Ready to get a clear signal?
- Check out our range: Browse our Light Source Category to find high-performance emitters.
- Get Advice: Not sure what wavelength you need? Reach out to us at info@photo-detector.com.
- Custom Solutions: Need a specific beam angle or matched pair? Visit our Contact Page and tell us about your project.
Stop fighting the noise. Get the right light.
FAQ: Frequently Asked Questions
Q1: Can I use a white LED as a photodiode light source?
A: You can, but it’s usually not efficient. White LEDs are actually Blue LEDs with a yellow phosphor coating. They have a broad spectrum. If your photodiode is only looking for IR, 90% of the energy from a white LED is wasted. It is much better to use a specific wavelength photodiode light source (like 850nm or 940nm) that matches your sensor’s peak.
Q2: What is the difference between a photodiode and a phototransistor?
A: A photodiode is faster and more linear, making it great for precision measurement. A phototransistor has high gain (it amplifies the signal) but is slower and less accurate. If you are choosing a photodiode light source for high-speed data or precise measurement, stick with a photodiode.
Q3: Do I need a driver for my photodiode light source?
A: Yes! Never connect an LED directly to a battery or power supply without a resistor or a constant current driver. An LED is a diode; as it warms up, it draws more current, gets hotter, draws more current, and eventually burns out (Thermal Runaway). A proper driver ensures your photodiode light source stays stable and lasts for years.
Q4: How do I know if my emitter and detector are “matched”?
A: Look at the “Peak Wavelength” in the datasheet of the photodiode light source (e.g., 850nm) and the “Peak Sensitivity Wavelength” of the photodiode. They should be within +/- 20nm of each other. Also, check the physical alignment—ensure the beam angle of the emitter actually hits the active area of the detector.