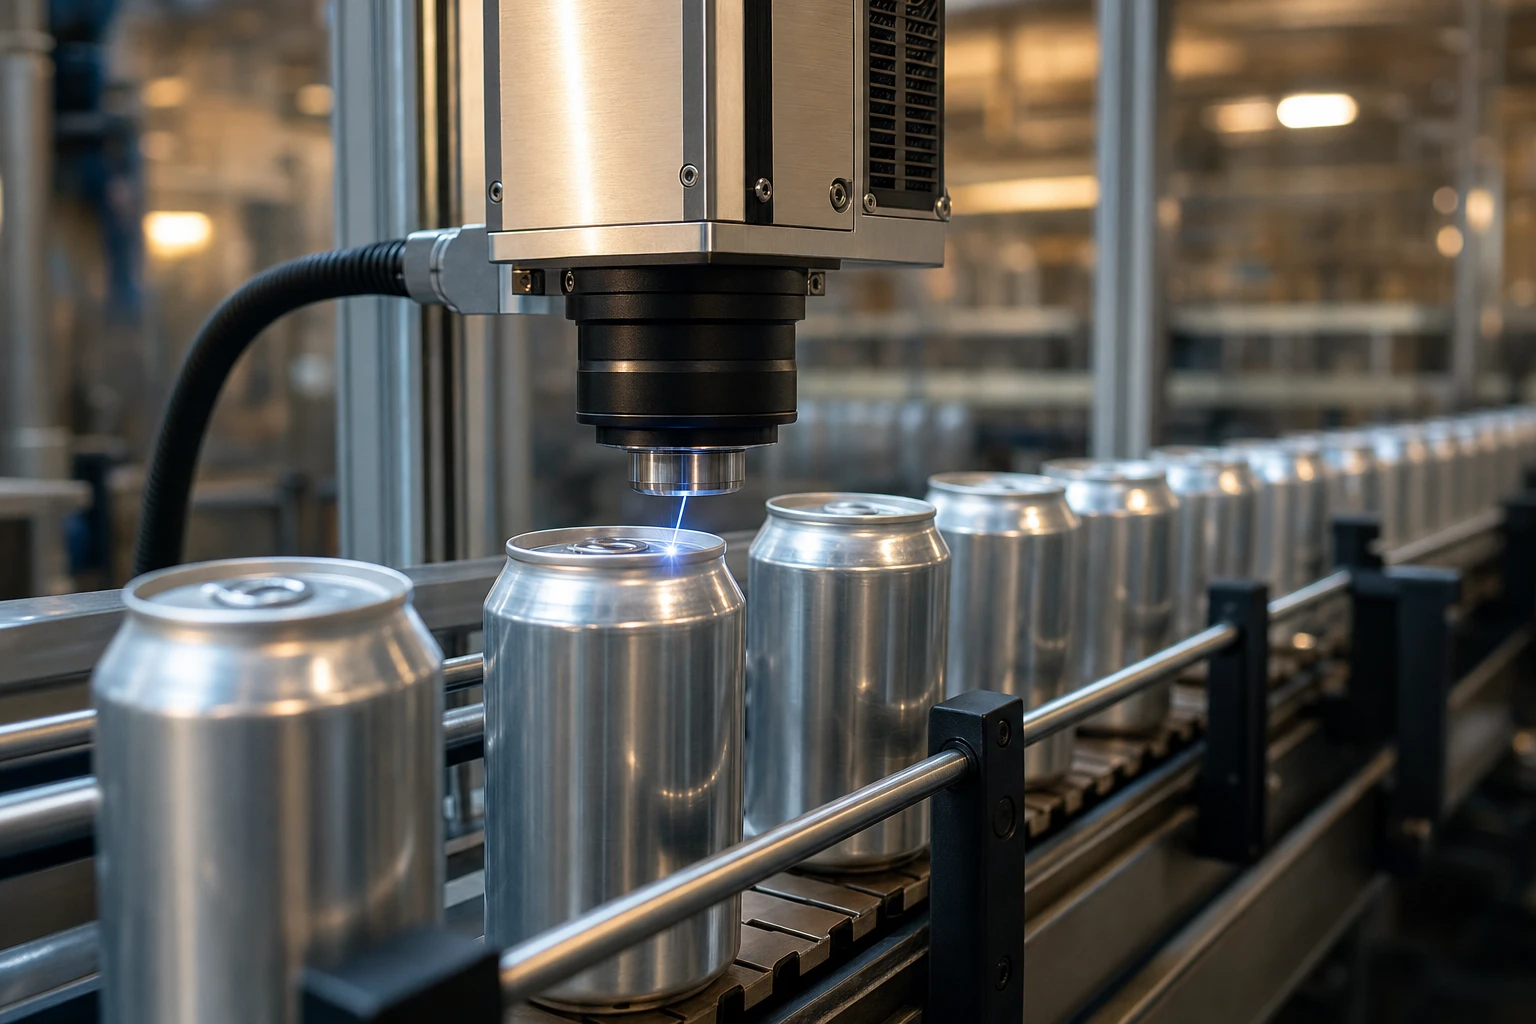
If you’ve spent any time on a fab floor managing Rapid Thermal Processing (RTP) or CVD, you know the nightmare of “drifting” temperatures. You dial in the recipe, the thermocouple says one thing, the pyrometer says another, and the resulting film thickness on the wafer is… well, trash.
It’s frustrating. I’ve seen engineers blame the gas flow, the pressure, or even the operator, when 90% of the time, it’s just the measurement tool lying to you.
Specifically, relying on single-color pyrometers or contact thermocouples in high-temp wafer processing is a recipe for headaches. Today, I want to talk about why switching to a two-color detector (often called a ratio pyrometer) isn’t just an upgrade—it’s basically survival if you want decent yields in 2026.
We’re going to dive into the physics (don’t worry, I’ll keep the math practical), the real-world messes inside vacuum chambers, and how to actually fix your wafer temperature monitoring issues.
Why Your Single-Color Pyrometer is Probably Wrong
Here is the problem with measuring temperature using light (which is what pyrometer sensors do). The amount of energy a hot object throws off depends on two things:
- The Temperature (what we want).
- The Emissivity (the headache).
In a perfect world, silicon wafers would be “Black Bodies” (emissivity = 1.0). But they aren’t. Silicon is tricky. Its emissivity changes based on temperature, surface roughness, the film you are growing on top of it, and—here’s the kicker—the wavelength you are looking at.
If you use a standard single-color detector, the math looks roughly like this:
Signal = Emissivity x Temperature_Function
If the emissivity drops by 10% because you just deposited a shiny metal layer, your sensor thinks the temperature dropped by 10%. The PID controller panics, cranks up the heater, and suddenly you have melted your wafer or ruined the doping profile.
I remember helping a client who was doing epitaxy growth. Their viewport window would get slightly coated with byproduct after about 5 runs. The single-color pyrometer saw “less light” through the dirty window and reported a lower temp. The system compensated by overheating the chamber. They were scrapping thousands of dollars of product every week just because the window wasn’t crystal clear.
This is where the two-color detector changes the game.
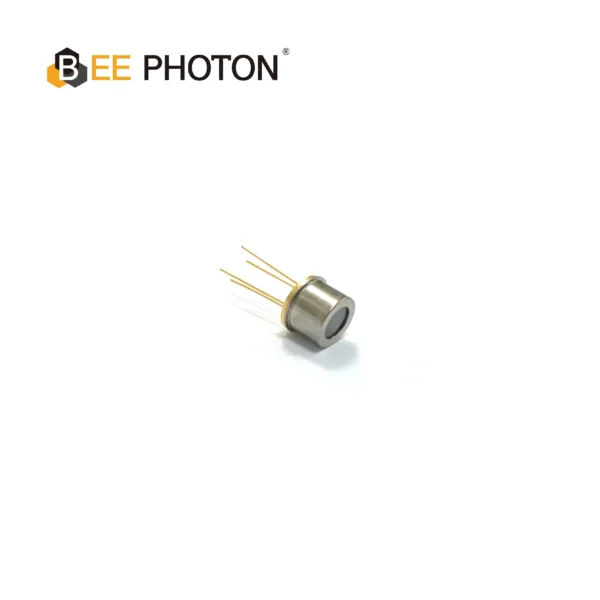
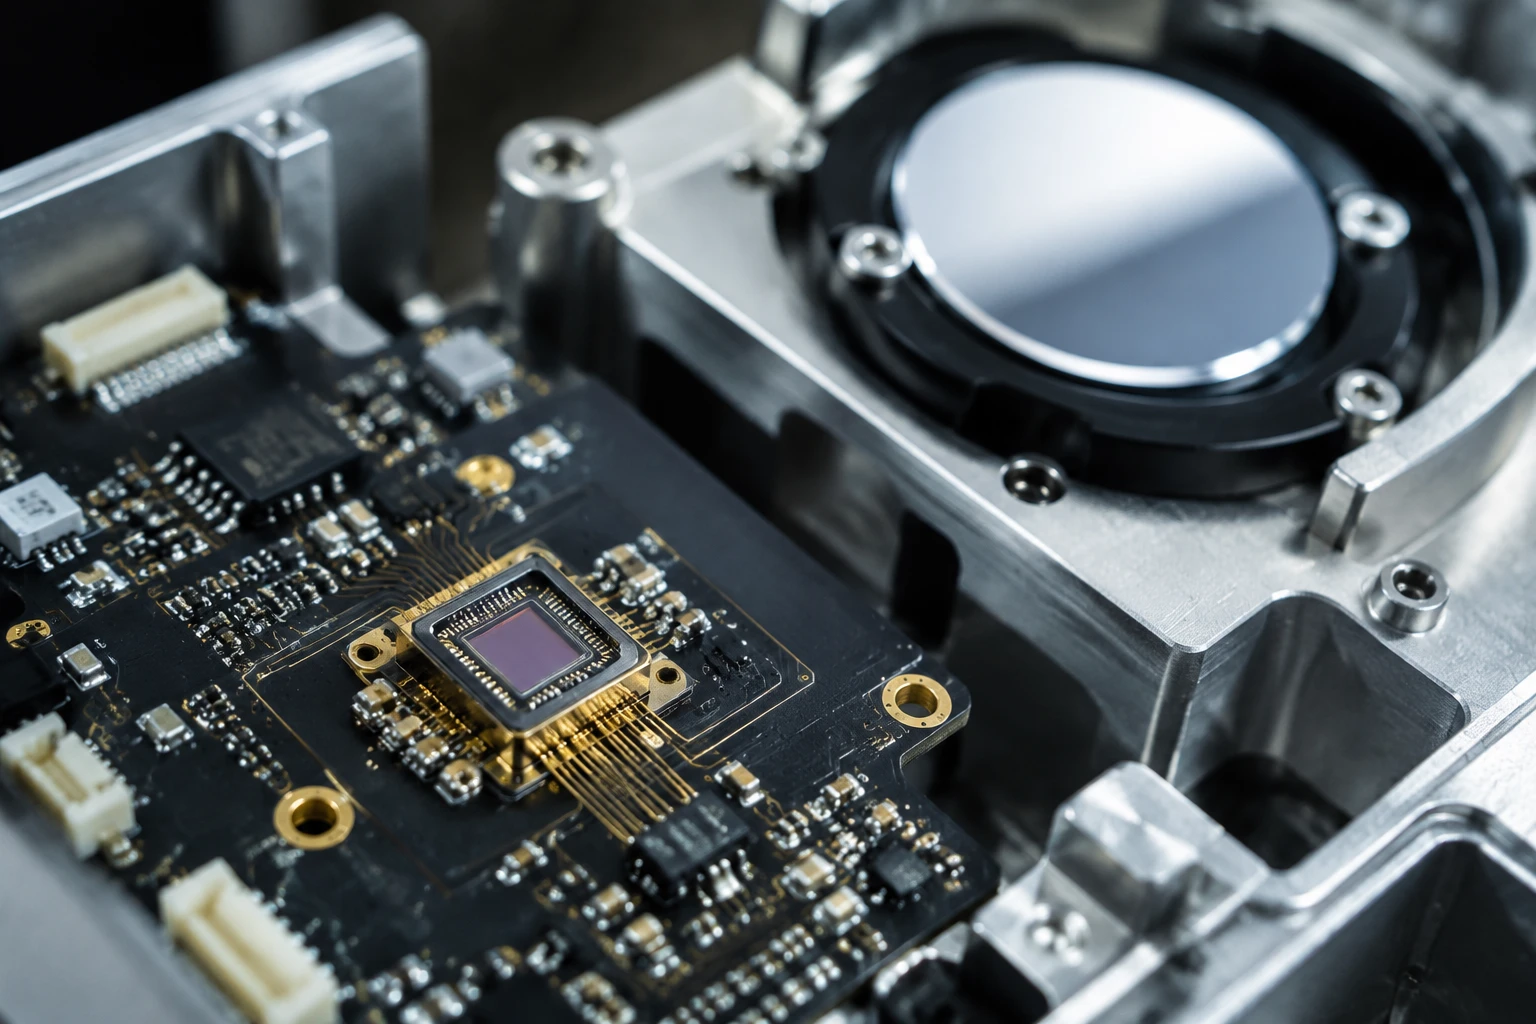
Two-color detector PDDT1630-101
Achieve reliable remote temperature and material sensing with our Silicon-InGaAs Photodiode. This TO-packaged two-color detector provides high quantum efficiency and a broad detection range for industrial applications.
The Science: Ratio Pyrometry Explained
Okay, let’s look at the math without getting bogged down in calculus. We rely on Planck’s Law, but for practical purposes, we use Wien’s approximation for optical pyrometry.
A two-color detector takes two snapshots of the thermal radiation at two different wavelengths (let’s call them Lambda1 and Lambda2) at the exact same time.
Instead of looking at the absolute intensity (which gets messed up by dust, dirty windows, or smoke), the detector calculates the Ratio of the two signals.
The simplified formula looks something like this:
Ratio (R) = Signal1 / Signal2
If we expand that based on the physics, it looks like this:
R = [Emissivity1 * (C1 / Lambda1^5) * e^(-C2 / (Lambda1 * T))] / [Emissivity2 * (C1 / Lambda2^5) * e^(-C2 / (Lambda2 * T))]
I know, that looks messy. But here is the magic trick.
If the Emissivity at Lambda1 changes by 10% (due to a dirty window), the Emissivity at Lambda2 usually changes by the same amount (assuming the wavelengths are close together).
So, Emissivity1 and Emissivity2 cancel each other out!
The dust on the viewport blocks 10% of all light.
Signal 1 drops 10%.
Signal 2 drops 10%.
The Ratio stays exactly the same.
This means your temperature reading (T) remains accurate even if the target is partially blocked, moving, or smaller than the spot size. For wafer temperature monitoring, where viewports get clouded constantly, this feature is non-negotiable.
Comparison: Choosing the Right Sensor for Fabs
I threw together this table to visualize why we see people moving away from thermocouples in the chamber.
| Feature | Thermocouples (Contact) | Single-Color Pyrometer | BeePhoton Two-Color Detector |
|---|---|---|---|
| Response Time | Slow (Contact lag) | Fast (ms) | Fast (ms) |
| Viewport Issues | N/A (Inside chamber) | High Error (Drifts if dirty) | Unaffected (mostly) |
| Emissivity sensitivity | N/A | High (Must know exact E) | Low (Cancels out gray body errors) |
| Contamination Risk | High (Touches wafer) | None (Non-contact) | None (Non-contact) |
| Target Alignment | N/A | Critical (Must fill spot) | Flexible (Can measure smaller targets) |
| Price | Low (initially) | Medium | High Value |
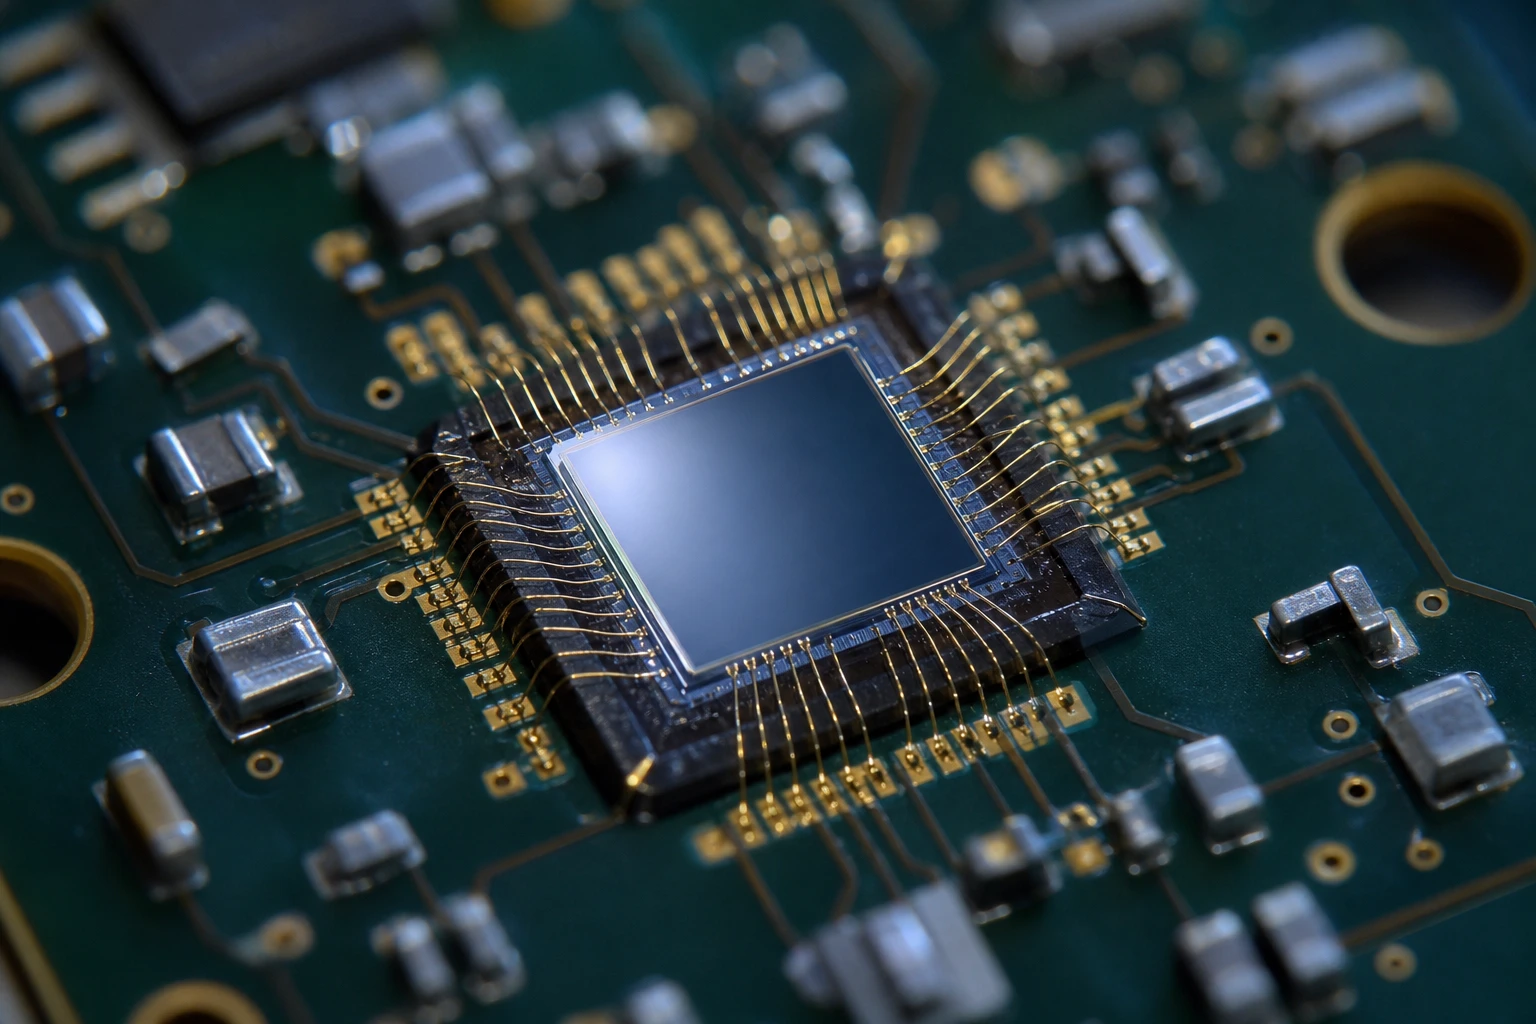
Two-color detector PDDT1410-101
Enhance your analytical instruments with our custom two-color detector for precise spectral analysis. This Silicon-InGaAs photodiode offers a wide spectral range and low dark current for superior accuracy.
Handling the “Grey Body” Assumption
Now, I’m not gonna lie to you and say two-color detectors are magic wands that work 100% of the time without setup. There is a catch. The math I showed above assumes the object is a “Grey Body”—meaning the emissivity is roughly the same at both wavelengths.
Silicon is… usually a Grey Body, but not always.
If you are dealing with very specific spectral ranges where silicon becomes transparent (like below 600°C for certain wavelengths), you need to be careful. That’s why at BeePhoton, we don’t just sell a box; we configure the wavelengths.
For standard high-temp processing (over 700°C), a two-color detector is rock solid. But if you have a weird application, like measuring a wafer that is highly reflective in IR but absorptive in Near-IR, we adjust the “Slope” (e-slope) parameter to compensate.
A Quick Story on Calibration
I had a debate with a process engineer last year. He swore his single-color unit was accurate because he calibrated it against a blackbody source in the lab.
“Yeah,” I told him, “but your process chamber isn’t a lab.”
Once we installed a two-color detector from our product category, we saw his “stable” 900°C process was actually oscillating between 885°C and 915°C because of wobble in the wafer rotation mechanism. The single-color sensor was seeing the wobble as temp changes. The ratio thermometer saw right through it.
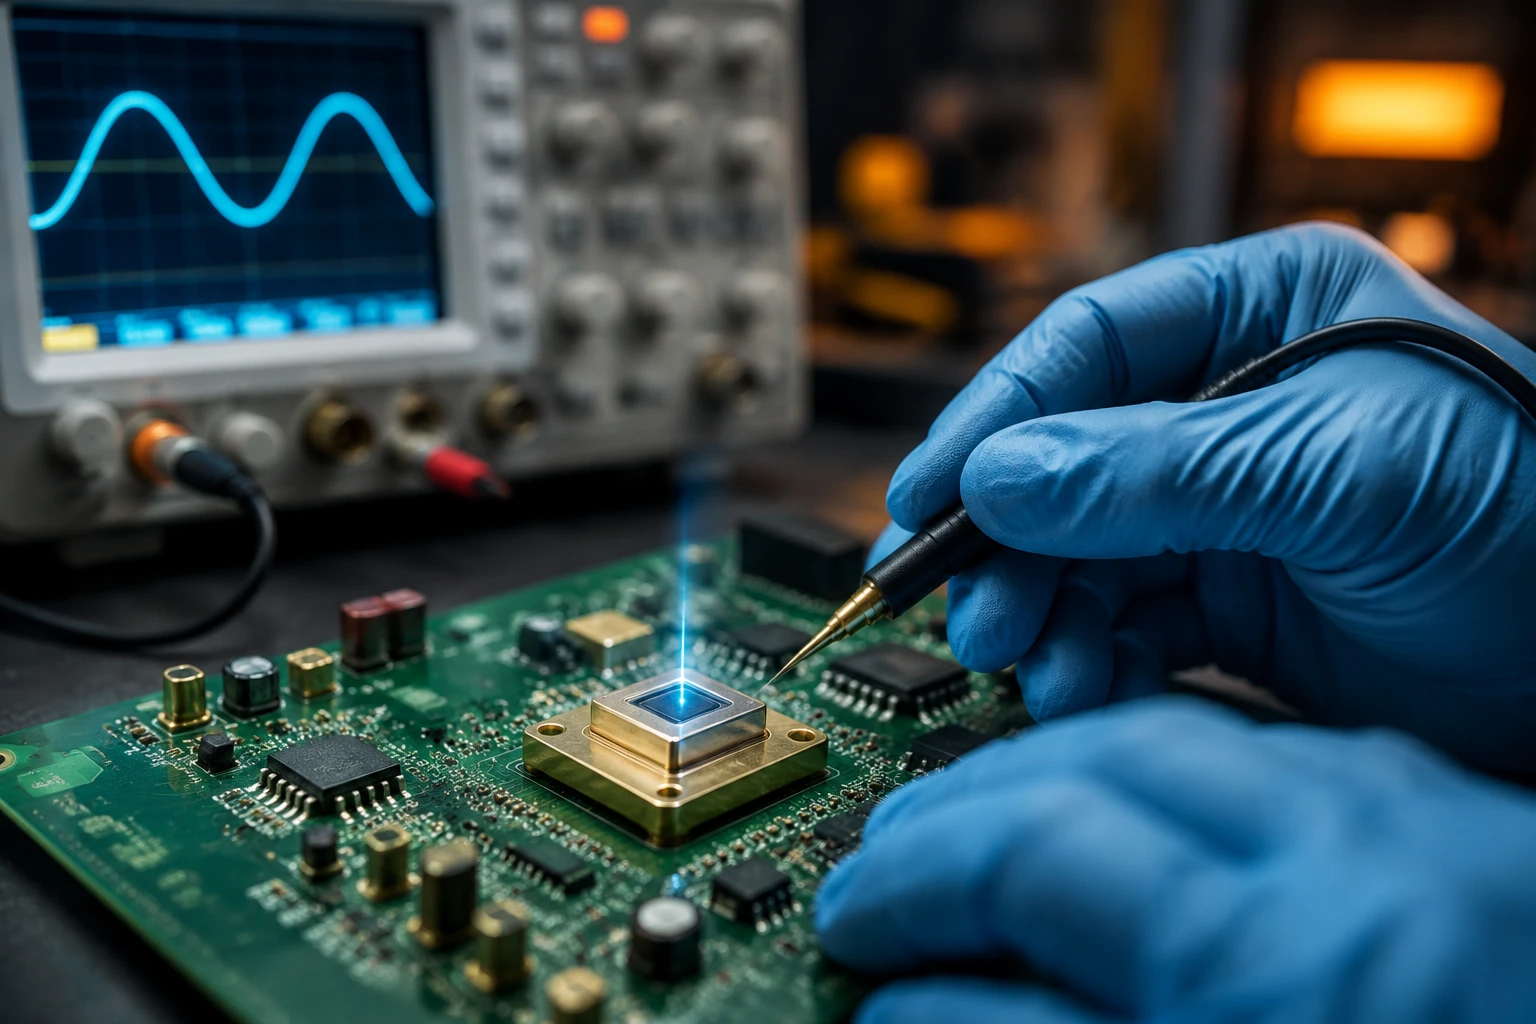
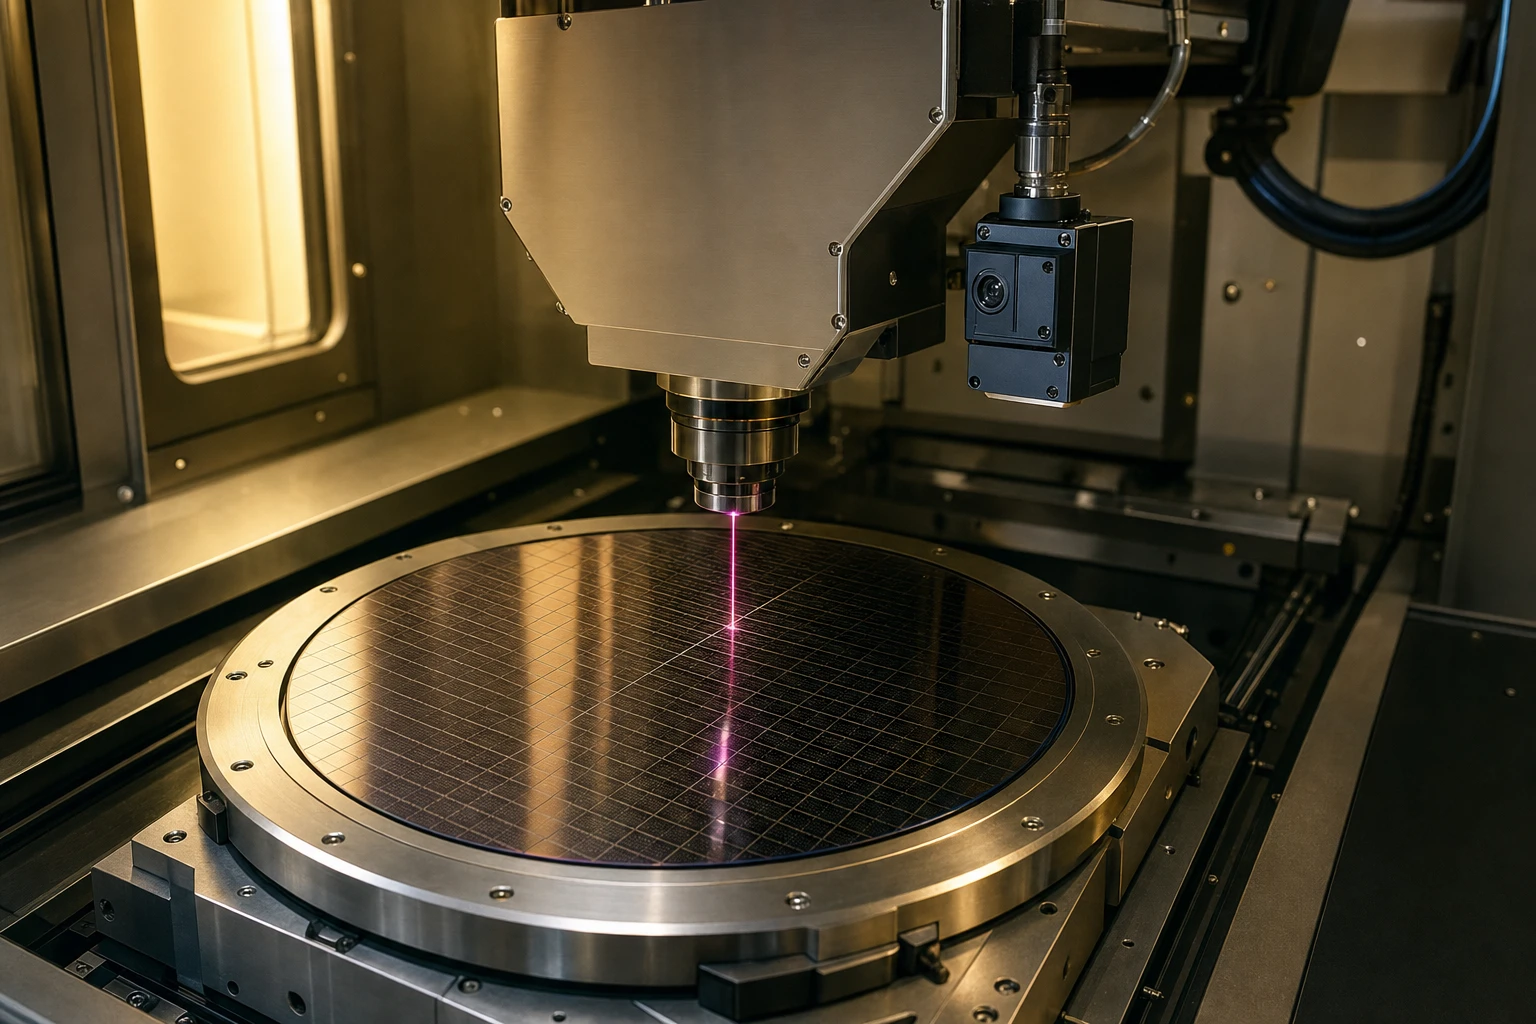
Where Pyrometer Sensors Fit in Your Setup
If you are retrofitting an RTP system or building a new CVD reactor, placement matters.
- The Viewport Material: You need Quartz or Sapphire usually. Ordinary glass blocks IR.
- Angle of Incidence: Try to measure perpendicular to the wafer. If you come in at a steep angle, emissivity gets weird (physics gets weird at glancing angles).
- Cooling: These sensors are sensitive electronics. If your chamber exterior gets to 100°C, you need a water-cooling jacket for the sensor head.
We usually recommend fiber-optic versions for fabs. You leave the electronics in a cool cabinet and run a fiber optic cable right up to the viewport. It keeps the noise down and the sensor safe.
Focus on High-Yield
The whole point of spending the budget on a two-color detector isn’t just to have cool tech. It’s yield.
If you can reduce the temperature uncertainty from ±10°C to ±2°C, you can:
- Run closer to the thermal limit without slip lines.
- Get more uniform dopant activation.
- Reduce cycle times because you aren’t waiting for “settling time.”
Product Image ALT Suggestion: Diagram showing how ratio pyrometry cancels out signal attenuation from dust on a viewport window.
Why BeePhoton?
Look, there are a few big names in this industry. I used to work with their gear. They’re fine. But here at BeePhoton, we focus specifically on the photonics side of things—getting the detection element right.
Our detectors use high-speed measurement circuits that can catch thermal transients that others miss. Plus, we don’t just send you a manual and wish you luck. We help you figure out the wavelength pair that matches your specific wafer doping concentration.
If you’re curious about the specs, check out our two-color detector range here: https://photo-detector.com/product-category/two-color-detector/. We’ve stripped out the bloatware in the software and focused on raw data integrity.
Two-color detector PDDT1514-001
Our Two-Color Si/Si Photodetector delivers precise remote temperature measurement. This high-reliability Si/Si photodetector in a rugged TO package with a borosilicate window ensures accurate results for pyrometry.
FAQ: Questions I Get All The Time
Q: Can a two-color detector measure through a completely blocked window?
A: No. If the window is 100% blocked, no light gets through. But, if the window is 90% dirty (very opaque), a two-color detector will still read the correct temperature, whereas a single-color unit would fail completely. It works as long as some signal is strong enough to be detected.
Q: What is the minimum temperature for these sensors?
A: Generally, ratio pyrometers struggle at low temps because there isn’t enough energy in the shorter wavelengths to get a good ratio. For silicon processing, we usually recommend them for applications above 600°C or 700°C. Below that, we might look at specialized IR single-color units or different wavelength pairs.
Q: Do I still need to calibrate for Emissivity (Slope)?
A: Usually, yes, but only once. You set the “Slope” parameter to match the material type (e.g., Silicon vs. Steel). Once that is set, you don’t need to recalibrate for surface changes, dust, or alignment shifts. It holds calibration much longer than single-color sensors.
Ready to Stop Guessing Your Temperatures?
If you are tired of unexplained yield drops or constantly cleaning viewports just to keep your sensors happy, it’s time to test a ratio system.
Don’t let measurement error eat your margins.
BeePhoton is ready to help you spec out the right sensor for your chamber. Whether you are doing RTP, LPE, or PVD, we have the data to back it up.
- Consult with us: https://photo-detector.com/contact-us/
- Shoot us an email: info@photo-detector.com
- Browse the tech: https://photo-detector.com/